Installation
Setup on MacOSX/Linux
Install NodeJS from https://nodejs.org/en/
Note
Feel free to use any package manager tool on your system for installation (brew, etc.).
Get the source code from our github repo: https://github.com/lidaof/eg-react
Important
For MacOSX with Apple M1 Chip, please use NodeJS version 16 and above, then try with npm install --force.
Start the browser
Enter the
frontenddirectory- Type
npm install(just for the first time) This step will install dependent packages.
- Type
Type
npm start
Warning
if npm install gives you error, you might try npm install --force.
That’s it! You are done with your mirror site. The browser is now accessible from http://localhost:3000/browser.
Setup on Windows
To run the browser App on Windows, you can either install a subsystem for Linux, after that, the steps are pretty much same as in MacOSX and Linux, for more about linux system in Windows, please check Install Windows Subsystem for Linux (WSL).
Another option is to run the App directly in Windows, steps are also similar, assume you are using PowerShell.
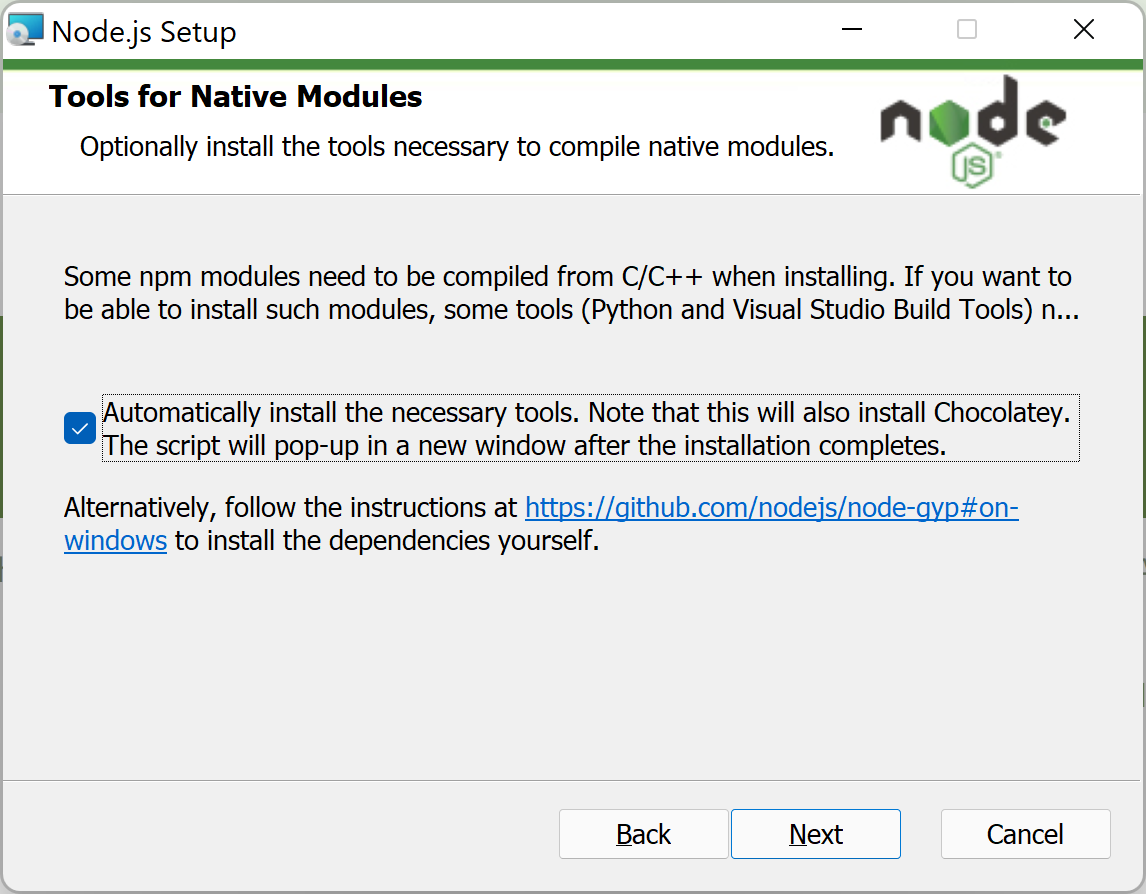
install nodejs: (you may need check install necessary tools)
install git: https://git-scm.com/download/win
get the code from github and run
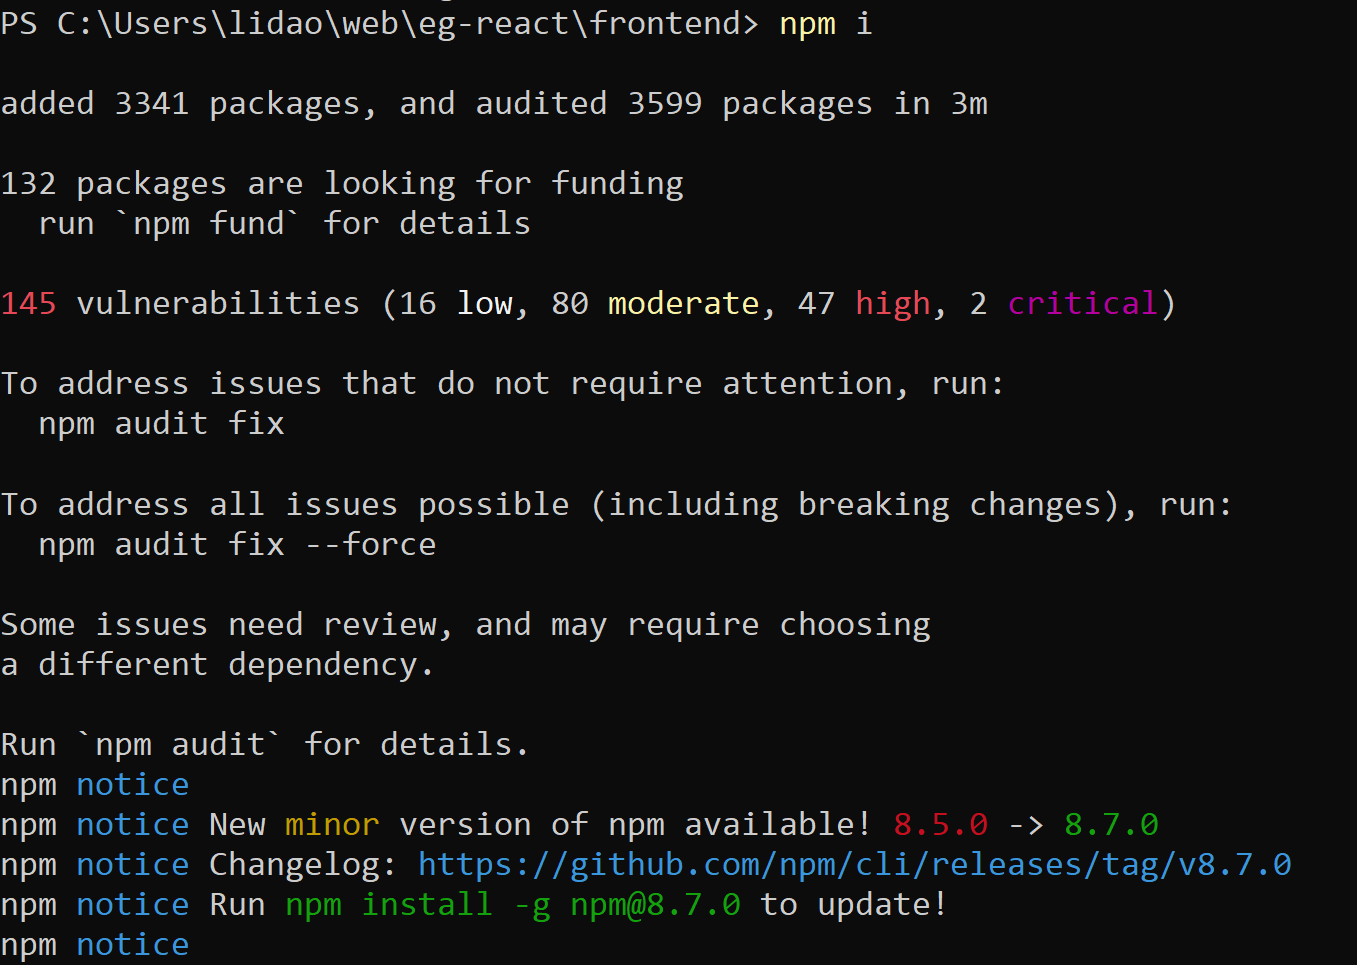
npm installunderfrontendfolder:
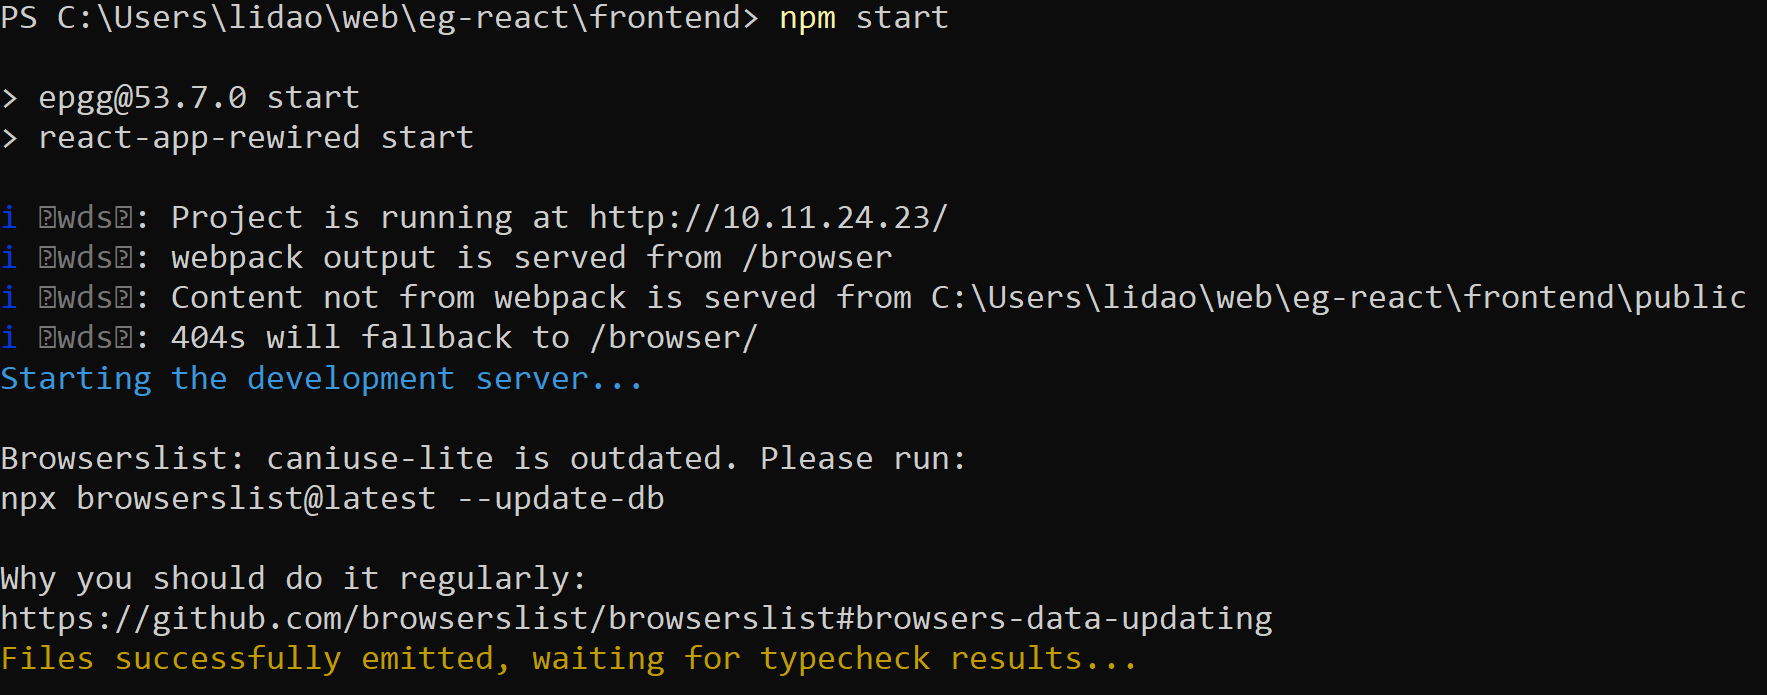
run
npm startto start the browser in local development:
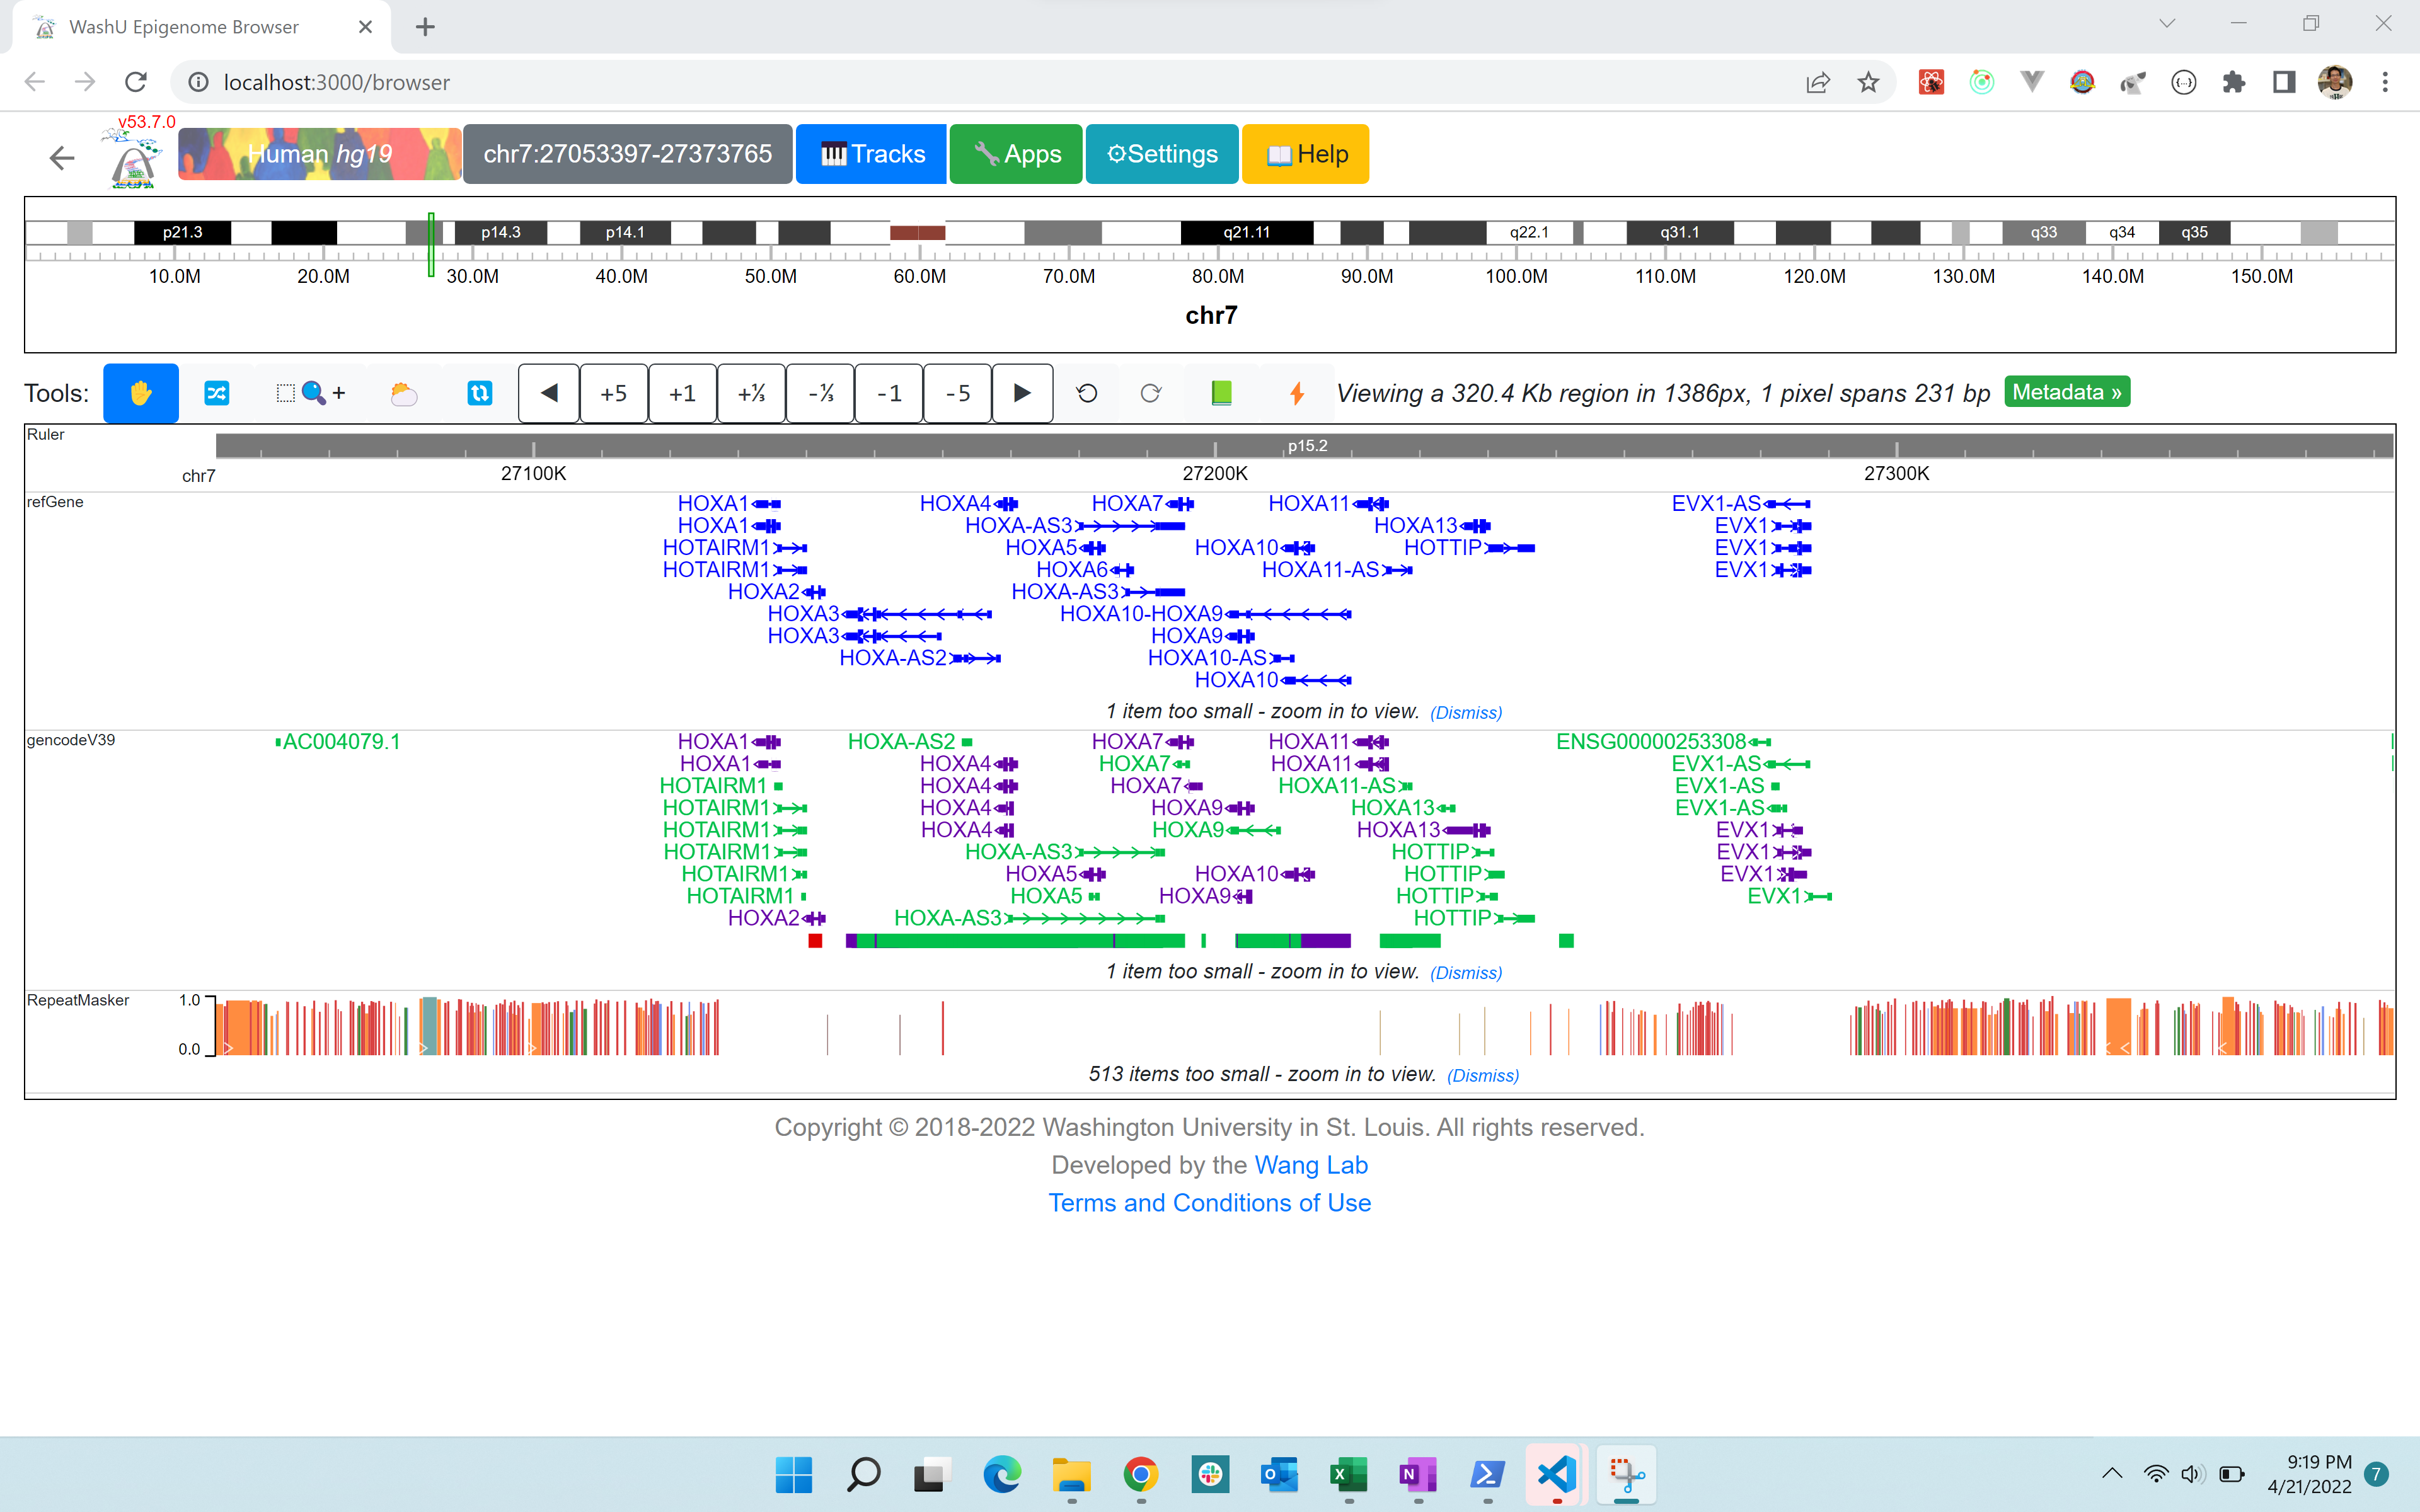
browser is running under Windows:
Example commands for installation on a RHEL system
$ cat /etc/redhat-release
 Red Hat Enterprise Linux Server release 7.9 (Maipo)
 # remove system nodejs (optional)
 sudo yum remove nodejs
 #install n for node version control
 curl -L https://git.io/n-install | bash
 source .bashrc
 $ node -v
 v14.17.0

 # get the browser code go to frontend folder
 git clone https://github.com/lidaof/eg-react.git
 cd eg-react/frontend/
 npm install --force
 npm install react-app-rewired
 npm start

 # if get error like: System limit for number of file watchers reached, run this command below

 echo fs.inotify.max_user_watches=524288 | sudo tee -a /etc/sysctl.conf && sudo sysctl -p

 # details see: https://stackoverflow.com/questions/55763428/react-native-error-enospc-system-limit-for-number-of-file-watchers-reached
Setup your own backend API (optional)
By default, your local browser mirror site uses our API service at https://lambda.epigenomegateway.org/v2,
while if you find the species or assembly you are interested is not listed by our API, you can either contact us to add
it or build your own API. To build your own API, please follow the steps below:
Install MongoDB from https://www.mongodb.com/
start mongdb server
Enter the
backenddirectoryType
npm install
Then prepare your gene annotation files like the ones for hg19, mm10 etc:
Make sure MongoDB is running
Enter the
backenddirectory- Run
npm run setup This step will load the gene annotation data to the MongoDB database
- Run
Type
npm start
Now your own backend API is running, change AWS_API variable to empty string in GeneSource.js file.
After this you are using your own API for gene annotation tracks and gene search.
Our current API in serice in GeneSource.js:
export const AWS_API = “https://lambda.epigenomegateway.org/v2”;
This API is for testing only:
Firebase setup
If you installed a local browser mirror, you also need setup a Firebase instance to enable Session and Go Live
function, signup a Firebase account at https://firebase.google.com/, which is free.
Create a .env file under frontend/ folder with following content:
REACT_APP_FIREBASE_KEY="Your own info"
REACT_APP_FIREBASE_DOMAIN="Your own info"
REACT_APP_FIREBASE_DATABASE="Your own info"
REACT_APP_FIREBASE_STORAGE_BUCKET="Your own info"
The detailed steps of how to get the information above are illustrated in the following screenshots:
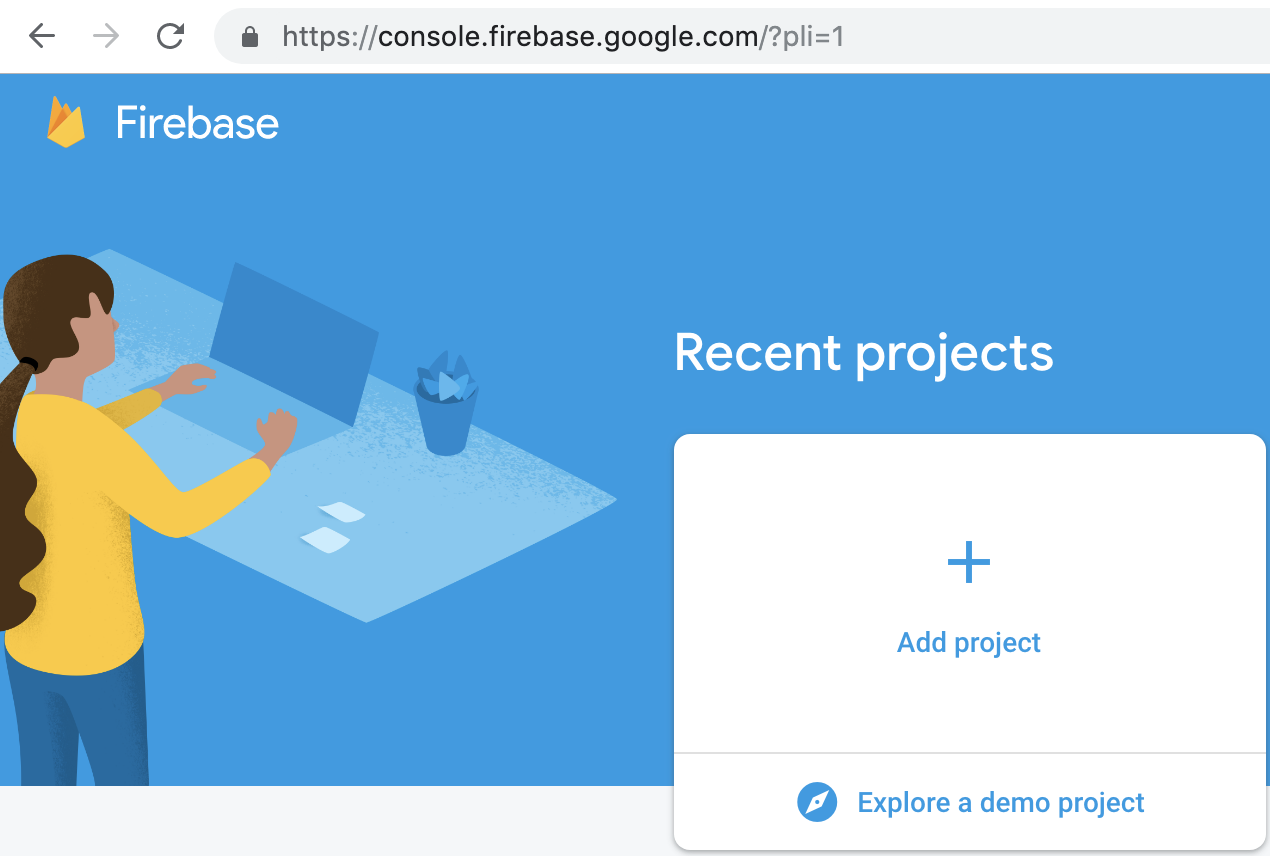
Signup a firebase account at Google if you don’t have one, then login into your account, create a new prioject:
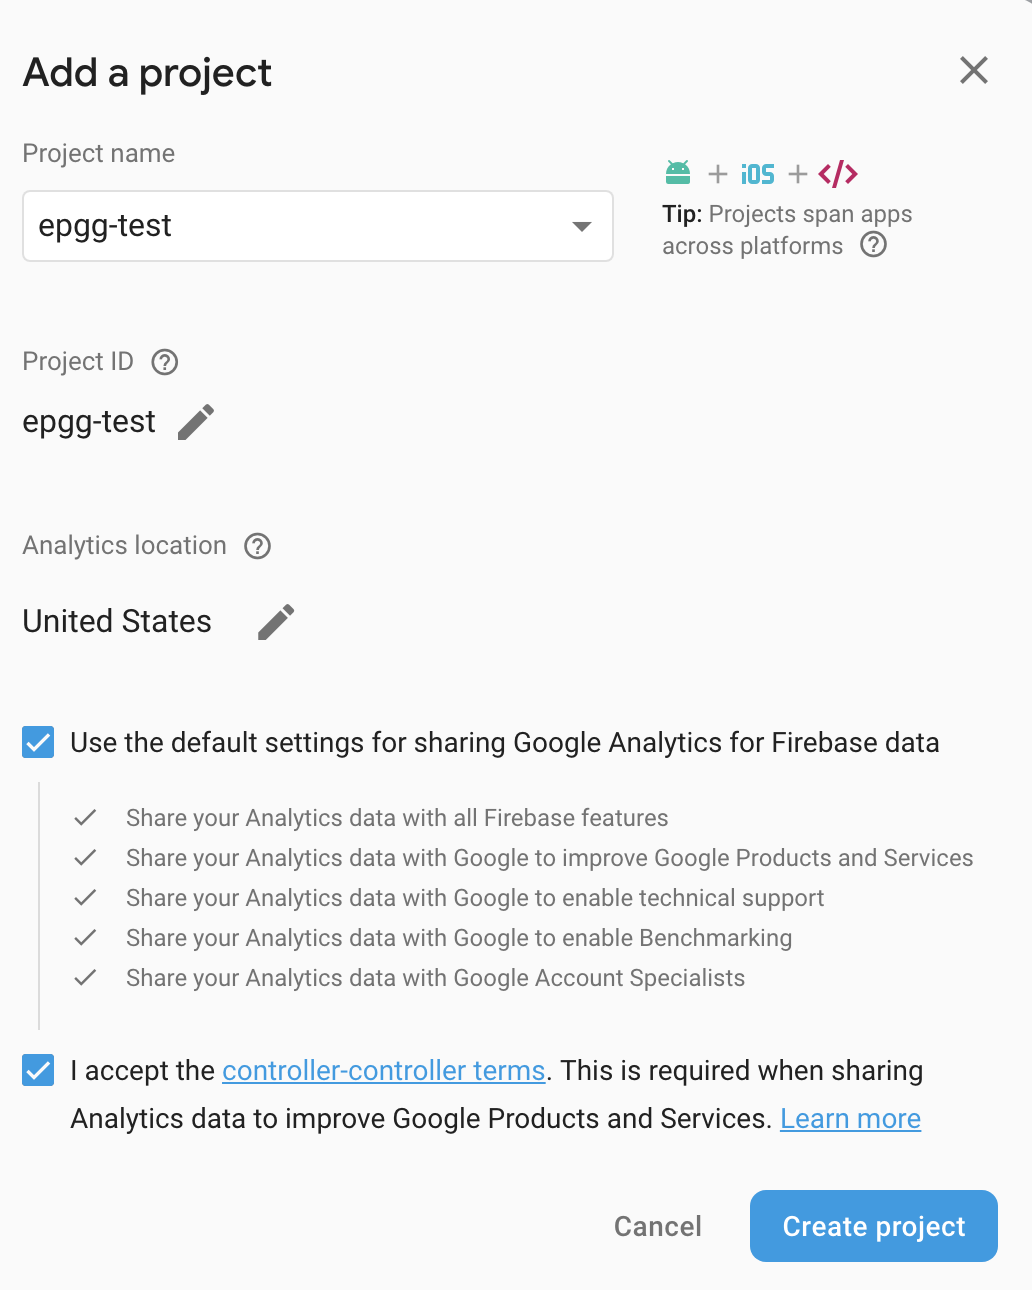
Type in the project name and click the Create project button:
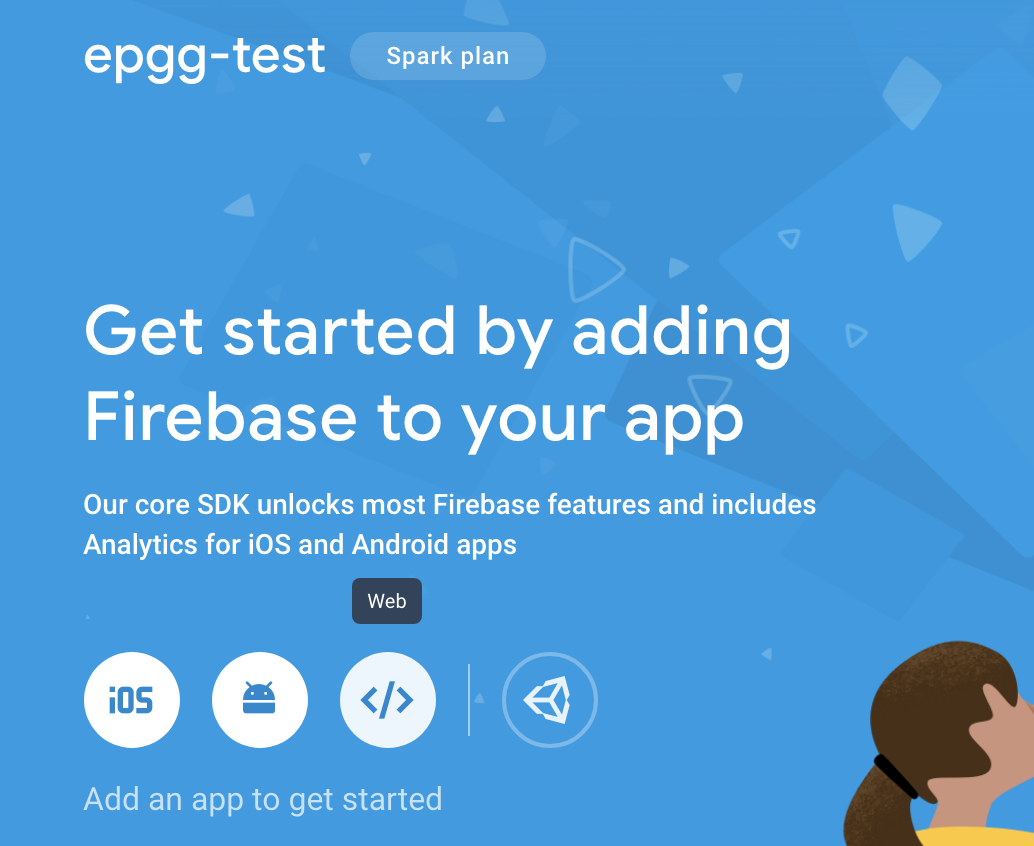
Click the Web button to add a Web app:
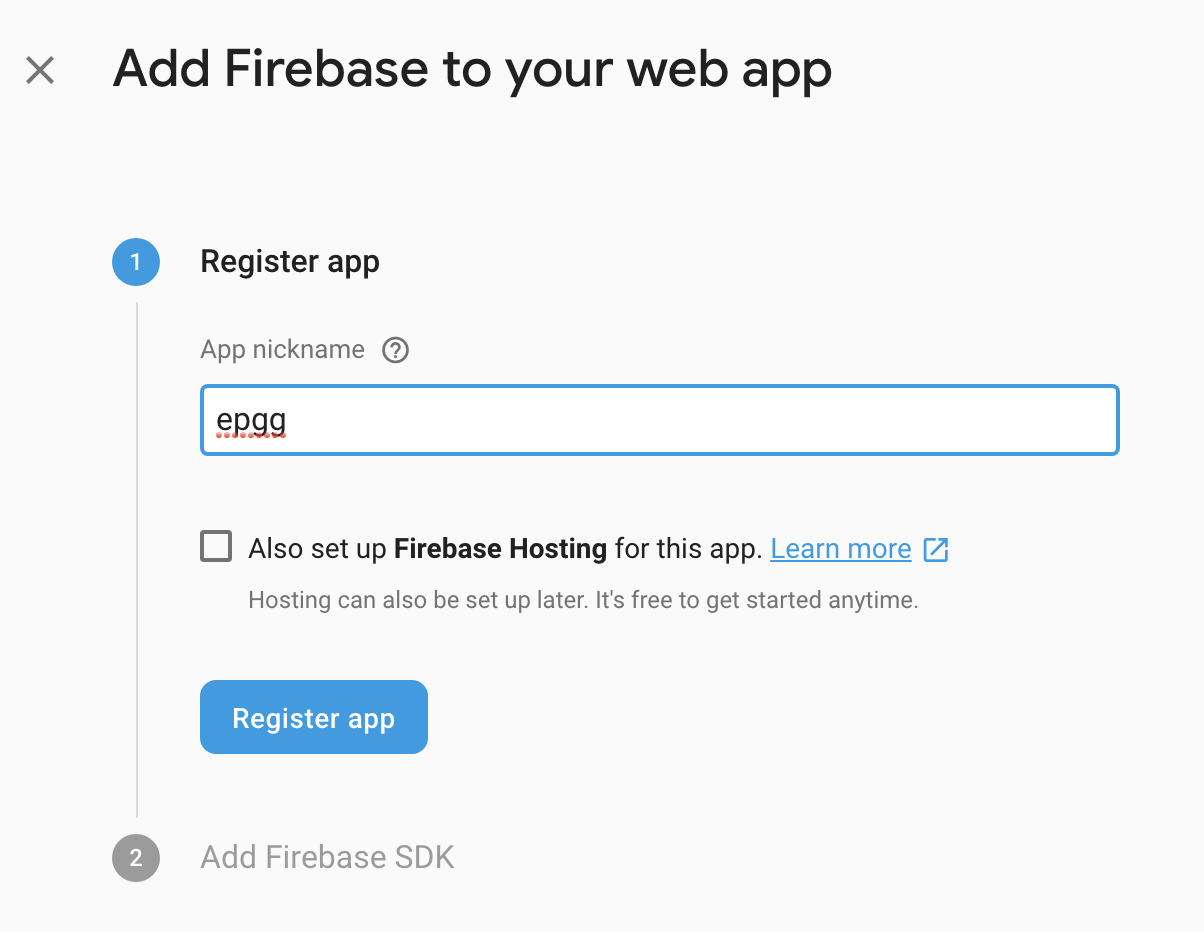
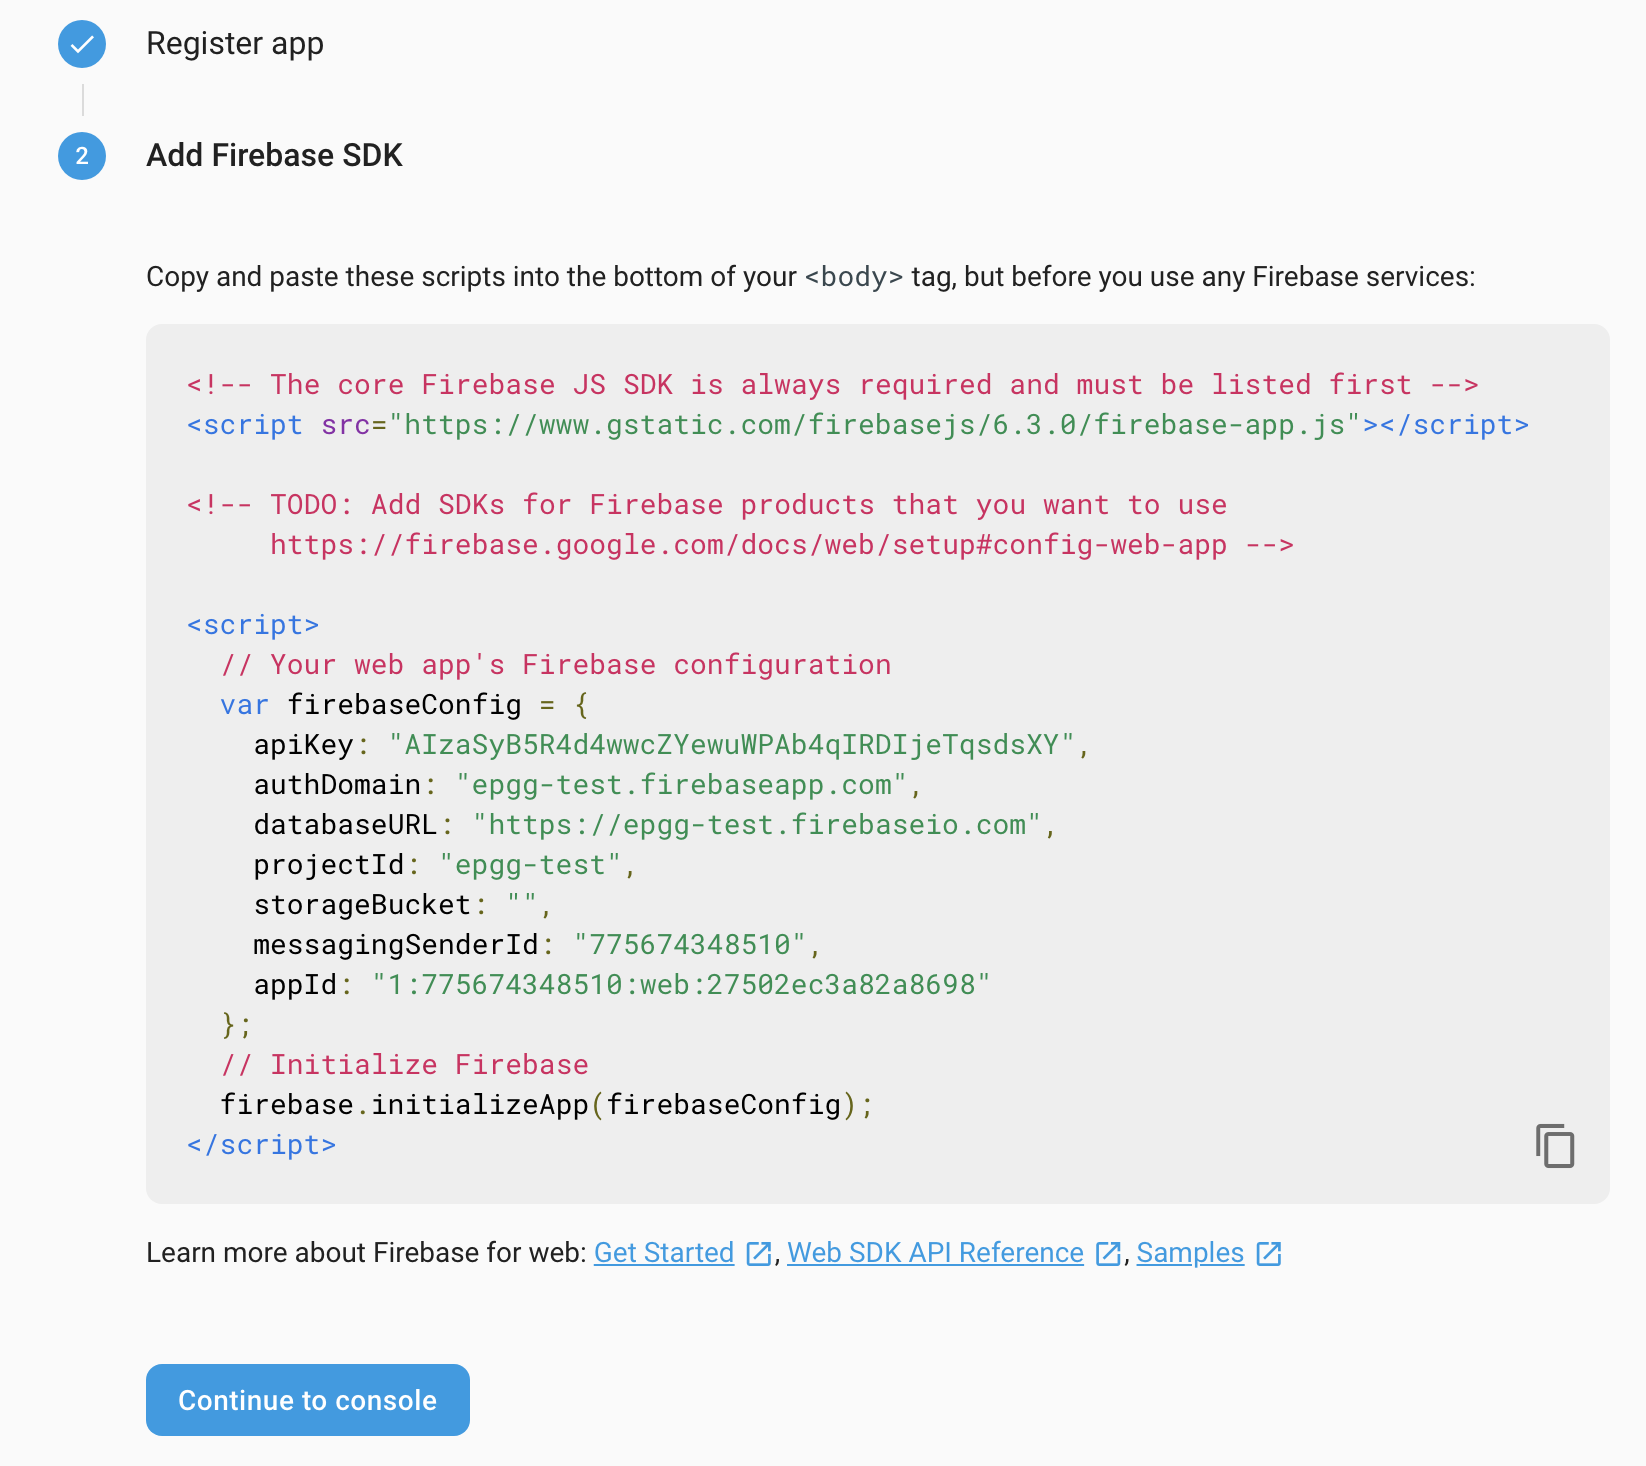
Type in a web app name and click the Register app button:
The firebase configuration info will be displayed:
Use without firebase
Firebase setup is necessary for using with Session and Live function, if browser mirror users think they won’t be necessary, the firebase setup setup can be avoided then.
In the frontend folder, create a .env file, add the line below:
REACT_APP_NO_FIREBASE=1
rerun npm start, the browser will start without session/live function.
Use Docker
The browser is also available as Docker images, to run the browser instance, get Docker from https://www.docker.com/, our official docker image page is at https://cloud.docker.com/repository/docker/epgg/eg-react, the image is based on Ubuntu 18.04, to run the image, run following commands:
docker run -it -p 3000:3000 epgg/eg-react
Note
The first 3000 port is the port will be used on your local computer, you can change it to any other port.
After the docker image is running, to start the browser:
cd eg-react/frontend
npm start
Open your web browser and locate to http://localhost:3000 to see the browser.
Embedding
To embed the browser in any HTML file, create a HTML page with following contents: (the example shows how to embed a mouse browser with 2 bigWig tracks from ENCODE data portal)
<!DOCTYPE html>
<html lang="en">
<head>
    <meta charset="utf-8" />
    <meta name="viewport" content="width=device-width, initial-scale=1, shrink-to-fit=no" />
    <meta name="theme-color" content="#000000" />
    <title>WashU Epigenome Browser</title>
    <link
        rel="stylesheet"
        href="https://maxcdn.bootstrapcdn.com/bootstrap/4.0.0/css/bootstrap.min.css"
        integrity="sha384-Gn5384xqQ1aoWXA+058RXPxPg6fy4IWvTNh0E263XmFcJlSAwiGgFAW/dAiS6JXm"
        crossorigin="anonymous"
    />
    <script src="https://aframe.io/releases/0.8.0/aframe.min.js"></script>
    <script
        src="https://code.jquery.com/jquery-3.2.1.slim.min.js"
        integrity="sha384-KJ3o2DKtIkvYIK3UENzmM7KCkRr/rE9/Qpg6aAZGJwFDMVNA/GpGFF93hXpG5KkN"
        crossorigin="anonymous"
    ></script>
    <script
        src="https://cdnjs.cloudflare.com/ajax/libs/popper.js/1.12.9/umd/popper.min.js"
        integrity="sha384-ApNbgh9B+Y1QKtv3Rn7W3mgPxhU9K/ScQsAP7hUibX39j7fakFPskvXusvfa0b4Q"
        crossorigin="anonymous"
    ></script>
    <script
        src="https://maxcdn.bootstrapcdn.com/bootstrap/4.0.0/js/bootstrap.min.js"
        integrity="sha384-JZR6Spejh4U02d8jOt6vLEHfe/JQGiRRSQQxSfFWpi1MquVdAyjUar5+76PVCmYl"
        crossorigin="anonymous"
    ></script>
    <script crossorigin src="https://unpkg.com/react@16/umd/react.development.js"></script>
    <script crossorigin src="https://unpkg.com/react-dom@16/umd/react-dom.development.js"></script>
    <script crossorigin src="https://cdn.plot.ly/plotly-cartesian-latest.min.js"></script>
    <script crossorigin src="https://unpkg.com/react-plotly.js@2.3.0/dist/create-plotly-component.min.js"></script>
    <!-- the browser script and styles -->
    <script src="https://unpkg.com/epgg@53.6.0/umd/epgg.js"></script>
    <link rel="stylesheet" href="https://unpkg.com/epgg@53.6.0/umd/epgg.css" />
</head>

<body>
    <noscript> You need to enable JavaScript to run this app. </noscript>
    <h1>Embedding test</h1>
    <div id="embed" style="width: 1000px"></div>
    <h2>some other headings</h2>

    <script>
        const container = document.getElementById("embed");
        const contents = {
            genomeName: "mm10",
            displayRegion: "chr5:51997494-52853744",
            trackLegendWidth: 120,
            isShowingNavigator: true,
            tracks: [
                {
                    type: "geneannotation",
                    name: "refGene",
                    genome: "mm10",
                },
                {
                    type: "geneannotation",
                    name: "gencodeM19Basic",
                    genome: "mm10",
                },
                {
                    type: "ruler",
                    name: "Ruler",
                },
                {
                    type: "bigWig",
                    name: "ChipSeq of Heart",
                    url: "https://www.encodeproject.org/files/ENCFF641FBI/@@download/ENCFF641FBI.bigWig",
                    options: { color: "red" },
                    metadata: { Sample: "Heart" },
                },
                {
                    type: "bigWig",
                    name: "ChipSeq of Liver",
                    url: "https://www.encodeproject.org/files/ENCFF555LBI/@@download/ENCFF555LBI.bigWig",
                    options: { color: "blue" },
                    metadata: { Sample: "Liver" },
                },
                {
                    type: "bedGraph",
                    name: "test",
                    url: "https://wangftp.wustl.edu/~rsears/Stuart_Little/RNA_083018/WangT_7176-5_ALDH_STRANDED_Signal.Unique.combo.out.bg.gz",
                },
            ],
            metadataTerms: ["Sample"],
            regionSets: [],
            regionSetViewIndex: -1,
        };
        renderBrowserInElement(contents, container);
        </script>
    </body>
</html>
The key API is the function renderBrowserInElement, it accepts the contents array as first argument, and container as second argument which is a DOM element.
Frontend code architeture
Note
This section explains how frontend code is organized, intend to be used for development purpose. Regular browser users don’t need to care about this section.
Quick tour
The client code is in the frontend folder. Here is a quick tour of frontend/src:
components: All React components.genomeNavigator: The navigation bar at the top that allows users to navigatetrack: Track-related componentstrackManagers: UI that manages adding tracks
dataSources: API calls, AJAX calls, database connections, etc. that get data to display.model: Data models.stories: Stories for Storybook on which unit tests depend.vendor: 3rd-party libraries that are not in NPM.
Suggested order of reading
If you plan to understand the app as a whole here is a suggested order to read the code in:
Feature: A feature or annotation in the genome.NavigationContext: A list ofFeatures that represent everywhere a user can navigate. If theFeatures are actually entire chromosomes then the user can effectively navigate the whole genome.DisplayedRegionModel: An interval in aNavigationContext.App: The root component of the app.From
App, descend into interested components.
Making a new track type
Make a new TrackConfig
Make a new class that extends TrackConfigor one of its subclasses. This class packages many essential track
characteristics:
getComponent()- Gets the component that renders the main visualizer and legend of the track.getMenuComponents()- Specifies context menu items in an array of components. You can choose existing ones in thecontextMenudirectory or make new ones.getOptions()- The visualizer probably renders with default options like a color. This method returns a plain object containing those options.
You do not have to implement these methods immediately as the base TrackConfig class provides minimal defaults.
Just work on making the browser render some temporary placeholder at first.
Specify when to use the TrackConfig
Import your new TrackConfig into
trackConfig/getTrackConfig.js.Add an appropriate entry to
TYPE_NAME_TO_SUBTYPE, which maps track type name to track renderer.
Write a new track visualizer component (implement getComponent())
Make a new component expecting to receive a bunch of props from
TrackContainer.Track.jsdocuments the props to expect.If you need data assume it will come through the
dataprop. We will add data fetch in the next step.Your new component may
renderanything though it is highly recommended you render a<Track>component, if not one of the more specialized components like<AnnotationTrack>or<NumericalTrack>. Pass all track container props to these sub-components.In addition to track container props you need to provide certain props to these sub-components, all of which the respective files document.
For example,
<Track>requires a legend and visualizer element. Use the track container props, which includes view region and width, to render a visualizer and pass it to<Track>.
Add data fetch
Available data sources are in the dataSources folder. If none of them fulfill your needs, write a new class that
fulfills the interface of DataSource.js. More can be found in that file.
How do we give your visualizer data? Higher-order components!
track/commonComponents contains track-specific HOCs; their names start with config- or with-.
configStaticDataSource requests a callback that returns a DataSource and then returns a function that wraps React
components. After you use this function, a component will automatically receive three props data, isLoading, and
error. These update with the browser’s current view region. In particular, the HOC guarantees synchronization of the
data prop with the current view region if isLoading is false.
3. Specify default options
Default option objects look like the options prop of TrackModel objects. Context menu items will read these options
if the track model does not specify them. Make sure these options are consistent with the way you are rendering your
track component! The configOptionMerging HOC should help with that.
Once you have a default options object, call setDefaultOptions() in the constructor of TrackConfig to use them.
Performance tips
Querying the width or height of any element, for example through clientWidth or getBoundingClientRect()is slow.
Such queries take on the order of 2 to 20 ms. While it is fine to do it once or twice, avoid doing it in a loop.
Suppose you aim to plot 500 data points on a SVG and for each point you query the SVG’s width. That is already a
second or more of computation – very noticable to the user!
React (and other) gotchas
On Macs, control + click is the same as a right click which fires a
contextmenuevent. Note thatclickevents do not fire oncontextmenuevents. Themousedownandmouseupevents will still fire though.When using native DOM events they take priority over React events. This is because React waits for events to bubble to the root component before handling them. This can cause undesirable effects: for example, calling
stopPropagation()on a React event will not actually stop native events. This StackOverflow post may also help if you have propagation problems: https://stackoverflow.com/questions/24415631/reactjs-syntheticevent-stoppropagation-only-works-with-react-eventsReact always unmounts components if their parents change type. The
Reparentablecomponent works around this by using app-unique IDs, but it can cause side effects with React’s native events. Use with care.Webpack does not support circular dependencies, and while compilation may be successful, an import may resolve as
undefinedat runtime.
Lessons trying to refactor into WebWorkers
Data fetch and track display options are intimately related. For example, what if someone wants HiC data and selects the 5KB resolution option?
Thus, for each track type, we have one object that gets the track component, default rendering options, and data fetch/processing.
Webpack hangs forever if it encounters a cyclic dependency involving a webworker.
The code as in (2) causes a cyclic depdendency. This cycle is [config object] –> [data source] –> [worker] –> [track config deserializer] –> [config object]
We cannot have our cake and eat it too.
Unfortunately, this means we cannot pipeline all expensive computation in worker context, while also ensuring track component and data source live in the same place.